
Last updated August 26, 2026
Free on-site gate assessment - hinges, posts, and your LiftMaster or Nice gate operator checked before anything is quoted
The assessment is free and the quote is the invoice.
 Before
 After
After Before
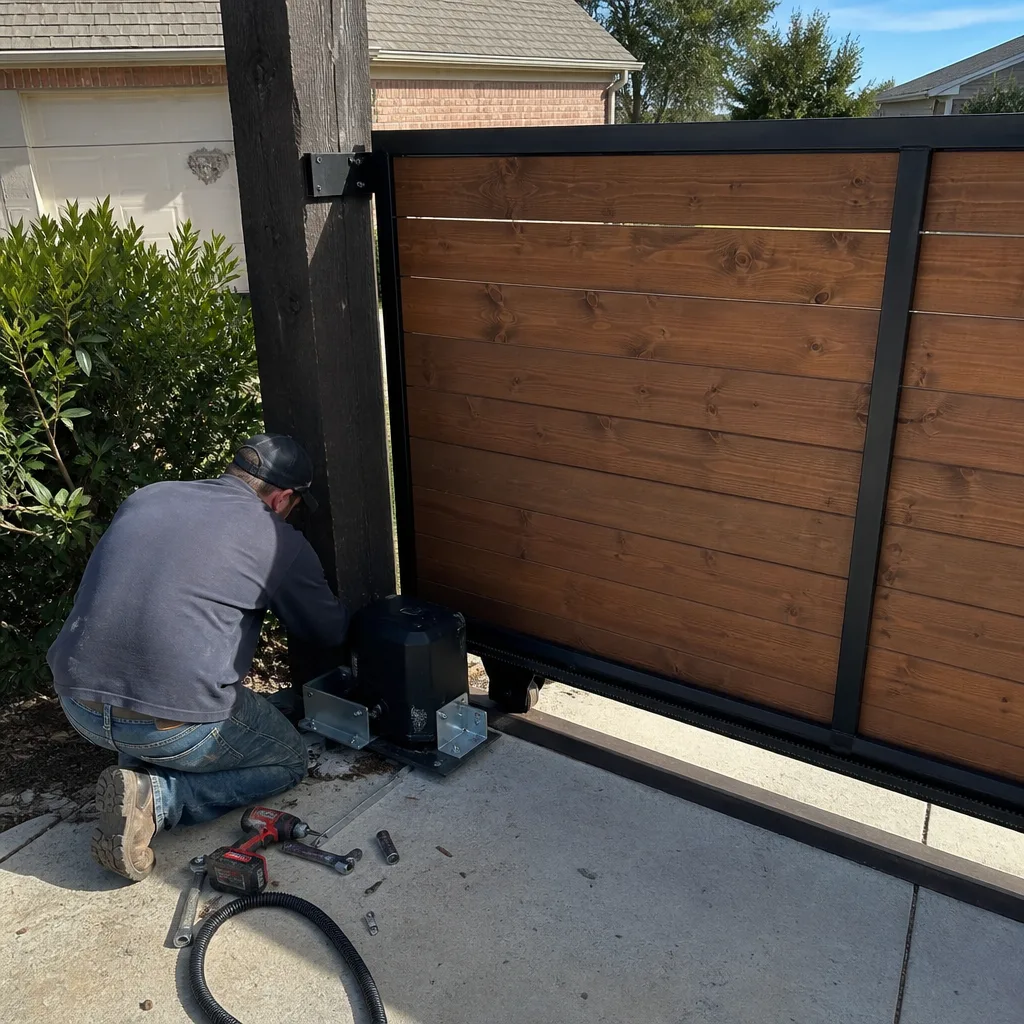 After
After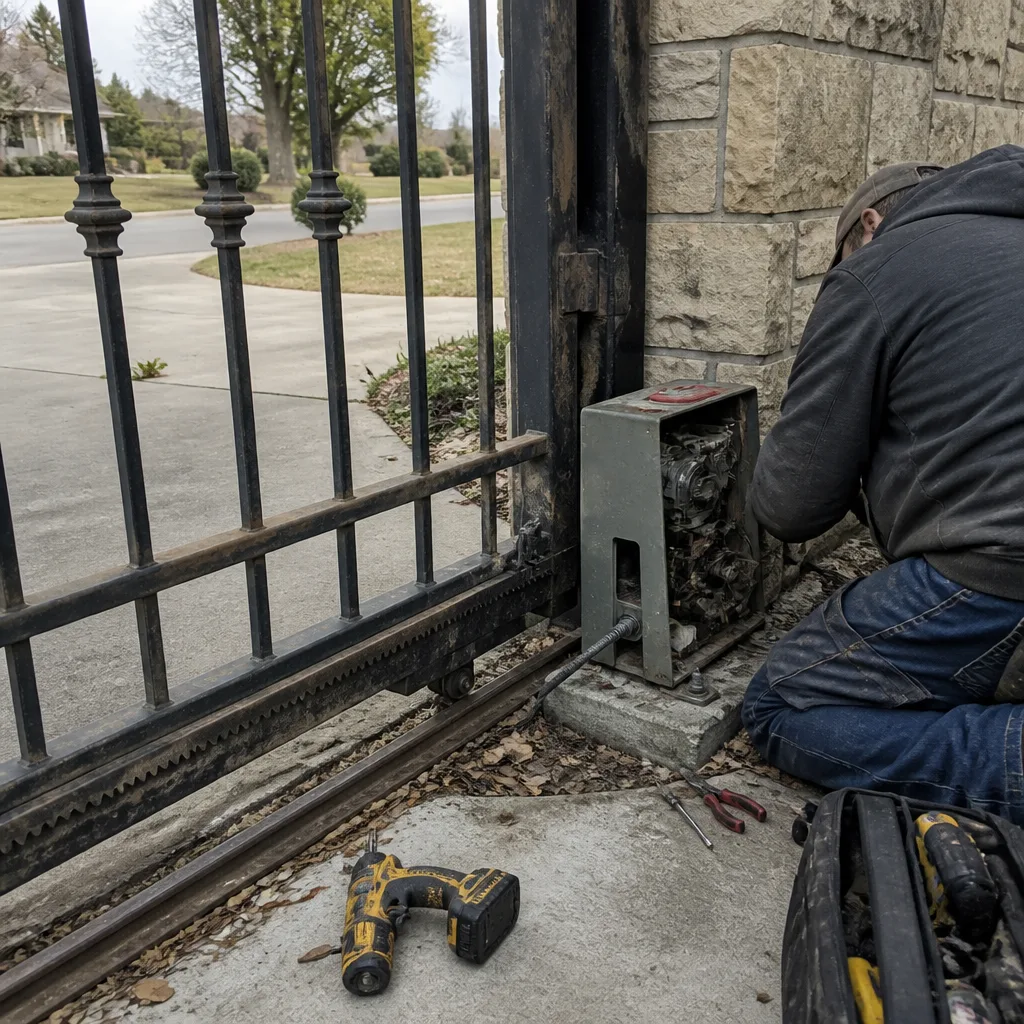 Before
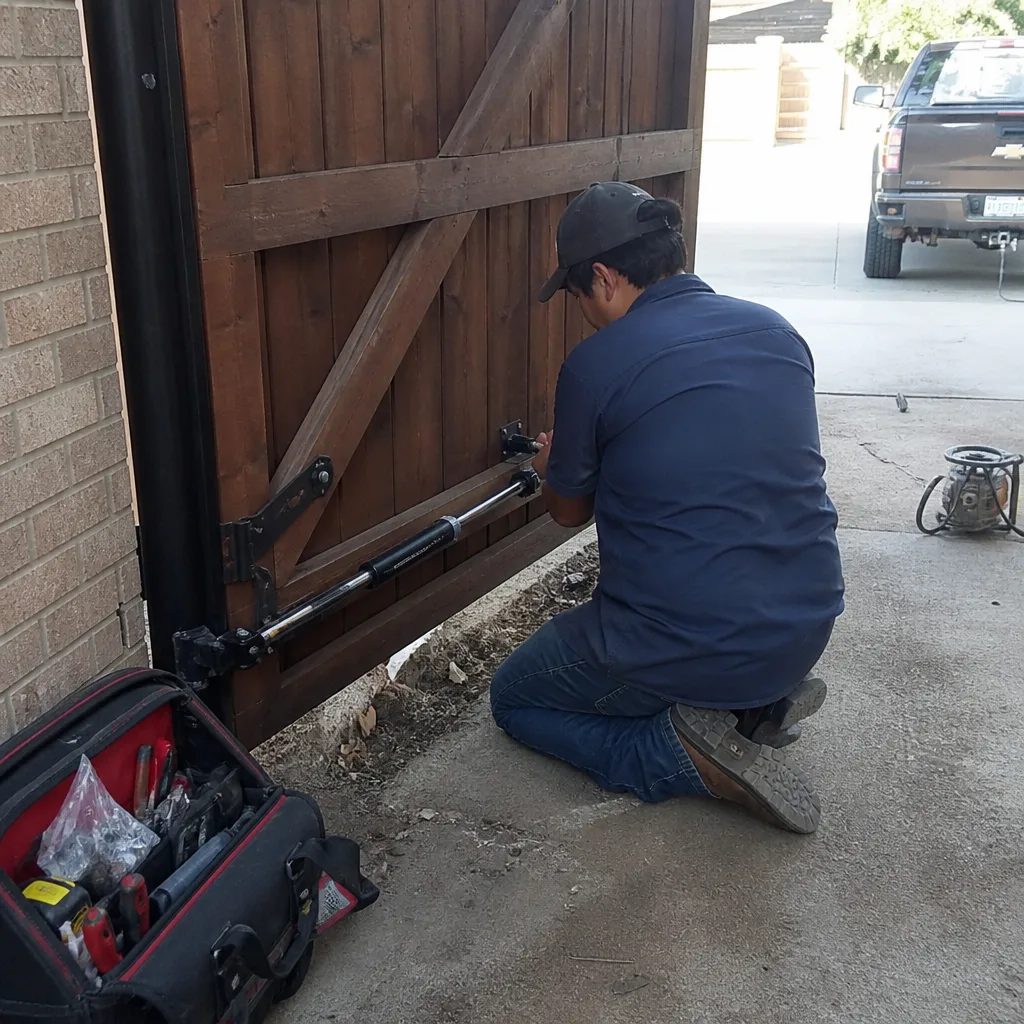 After
AfterDIY vs Professional Gate Repair: The Prosper Homeowner’s Decision Guide
Here’s a counterintuitive fact from 29 years of fixing gates: the most expensive repair call in Prosper is often the one that starts as a $12 DIY project. We’re not saying that to scare you into paying for work you could handle yourself. We’re saying it because the failure pattern on North Texas gates follows a rhythm, and the homeowners who get burned are the ones who fix the part that’s moving without asking why it moved. This guide will walk you through which repairs you can genuinely do yourself, which ones to leave alone, and how to tell the difference before the gate tells you. Prosper gets hot, windy summers and occasional ice that freezes tracks solid. That climate is not kind to gates, and it’s not kind to shortcuts either.
Quick Answer
Most DIY gate repairs fail because the visible symptom and the actual cause are two different things. A sagging gate is usually a failing hinge post, not a weak hinge. A dead opener is often a bad capacitor or an overheated motor, not a broken remote. If the repair involves tightening, lubricating, changing batteries, or replacing a keypad, most Prosper homeowners can handle it with basic tools. If it involves a post, a weld, a spring under tension, or an automated opener’s wiring, call a professional for our Gate Repair services before the gate starts moving in ways it shouldn’t.
Table of Contents
- Repairs You Can Genuinely Do Yourself
- Repairs You Should Never DIY, Even If You’re Handy
- Automated Gates and the UL 325 Problem Nobody Talks About
- How to Diagnose a Gate Problem Before Calling Anyone
- Questions to Ask a Gate Contractor (And What Honest Answers Sound Like)
- What DIY Gate Repair Actually Costs in Prosper
- Common Mistakes to Avoid
- When to Call a Professional
- Frequently Asked Questions
- The Bottom Line
Repairs You Can Genuinely Do Yourself
We’re going to be straight with you, because that’s how Hal runs the shop. There are gate repairs that do not need a professional, and anyone who tells you otherwise is trying to sell you a service call you don’t need. A homeowner with a basic socket set, a level, and some white lithium grease can handle a surprising amount. The key word is basic. The moment a repair requires lifting the gate off its hinges, digging at a post base, or touching anything electrified, that’s a different conversation.
Here’s the honest list of DIY-appropriate gate work for a Prosper homeowner:
- Replacing opener remote batteries and reprogramming remotes. If your remote stopped working but the keypad still opens the gate, the remote is dead. New batteries cost $5. Reprogramming instructions are in the manual, and every major brand, including LiftMaster and Mighty Mule, publishes them free online. This is not a repair. This is maintenance.
- Replacing a keypad battery or a worn keypad cover. If the keypad buttons stick or don’t register, the cover has cracked or the battery has leaked. Both are plug-and-play fixes on most models. If the keypad itself is fried, that’s a $60 part and a 10-minute swap.
- Lubricating hinges, rollers, and tracks. A gate that squeals or binds but still opens and closes is usually screaming for lubrication. Use white lithium grease on hinges and pivot points. Do not use WD-40, it washes out in rain and actually attracts dust. Prosper’s fine clay dust gets into everything, so a heavier grease that stays put is the right call.
- Tightening loose hinge bolts and bracket hardware. If you can see the bolt head moving when the gate opens, grab the socket set. Most gate hardware uses standard sizes, and a quick pass with a wrench fixes the rattle before it becomes a sag.
- Replacing a bent strike plate or a misaligned latch. If the gate closes but won’t latch, the strike plate may have shifted. You can file the slot a bit or re-align the plate with the gate. This is a 30-minute job with a screwdriver and a file.
- Adjusting photo-eye sensors on automated openers. If your gate starts to close and immediately reverses, the photo eyes have probably been knocked out of alignment by a weed trimmer, a ball, or a curious dog. Most sensors have an alignment light. Adjust until the light turns green or steady. This is a two-person job, one to hold and one to tighten.
- Clearing rust and repainting a steel gate panel. Surface rust on the panel is cosmetic. Wire brush it, prime it, paint it. Do it before the rust pits the metal. Prosper’s humidity swings, from bone-dry August to damp April, accelerate rust on bare metal.
Each of these repairs takes less than an hour, requires no specialty tools, and carries no meaningful risk of damaging the gate or yourself. If you’re comfortable doing any of them, do them. Hal will tell you the same thing over the phone.
For anything beyond this list, keep reading or explore more guides & resources. There’s a reason the line is where it is.
Repairs You Should Never DIY, Even If You’re Handy
This is where the guide gets unpopular. We get it. You’ve built a deck. You’ve rewired a ceiling fan. You own a welder, or your neighbor does, or you’ve watched enough videos to feel confident. The problem with structural gate repair is not skill. It’s load path. And load path is invisible until it fails.
A gate is a lever. Every pound of the gate’s weight, multiplied by its distance from the hinge post, is constantly pulling the post forward and down. The post is buried in concrete, but concrete in North Texas has to contend with clay soil that expands when wet and contracts when dry. That movement loosens the post over time, even when the gate itself looks fine. When a gate sags, homeowners see the sag in the panel and assume the hinges are weak. Hal’s rule: a gate sags in the hinge post, not in the middle. Fix the panel without the post and you’ll fix it twice.
Here’s what structural repair actually involves, and why it’s not a weekend project:
- Digging out and re-setting a hinge post. This means unbolting the gate, pulling the concrete plug, re-digging the hole below the frost line, re-setting the post with fresh concrete, and letting it cure for 24 to 48 hours before rehanging the gate. If you rehang the gate on green concrete, you’re back to square one in a year. We see this constantly in Prosper, especially in neighborhoods with heavy clay, like Gentle Creek and Whispering Farms.
- Welding a cracked frame or a broken picket. A backyard stick welder from Harbor Freight can burn a bead. But gate welding has to hold against cyclical loading, wind gusting, and daily use. A cold weld that looks fine today can fail catastrophically in six months. There’s also the heat distortion problem, a weld on a thin gate frame pulls the frame out of square if you don’t sequence the welds correctly. Then the gate won’t close at all.
- Replacing a broken gate wheel or a bent track. On sliding gates, the wheel carries a surprising amount of weight, and the track has to be level to within a fraction of an inch over its entire run. If the track has shifted, the gate binds at one end. That’s not a wheel problem. That’s a subgrade problem.
- Re-tensioning or replacing torsion springs on cantilever gates. Cantilever gates use springs to counterbalance the gate’s weight. Those springs are under enormous tension. We will not walk you through this, and neither should anyone else. A spring under tension releasing unexpectedly is a serious injury waiting to happen. If you have a cantilever gate and the spring has snapped or lost tension, call a professional. This is not a lesson worth learning firsthand.
The common thread: every structural repair involves a component that is carrying weight or tension beyond what you can see. The gate is a lever, and levers multiply force. That’s the whole point of a gate. It’s also why a 300-pound gate can exert more than a thousand pounds of pull on its hinge post over time. You can’t see that force, and you can’t feel it until the post gives way.
Automated Gates and the UL 325 Problem Nobody Talks About
Here’s a legal exposure most Prosper homeowners don’t know exists until it’s too late. Every automated gate opener sold in the United States must comply with UL 325, the safety standard for gate and door operators. That standard requires specific safety devices, specific force settings, and specific installation practices. When a homeowner installs or modifies an opener without following those requirements, two things happen.
First, the gate becomes a liability. If someone is injured by a gate that doesn’t meet UL 325, the homeowner can be found negligent. Homeowners insurance policies generally do not cover injuries caused by non-compliant gate installations. That’s not a line item most people check when they buy a house with an automated gate in Prosper. It should be.
Second, if your automated gate serves as a pool barrier, it must also comply with local pool barrier codes. Those codes require specific gate heights, self-closing mechanisms, self-latching hardware, and opening direction. If you modify the opener, the hinge, or the latch without understanding how those changes affect the pool barrier’s code status, you may have just created a code violation that a home inspector will flag when you sell the house. In a market like Prosper, where homes with pools and automated gates routinely sell at top dollar, that’s not a discovery you want at closing.
Here’s what UL 325 compliance actually requires, in plain language:
- External entrapment protection devices, such as photo eyes or contact edges, installed and tested at the gate’s leading edge and inside the gate opening.
- A force limit set properly, so the gate reverses when it encounters resistance, like a child’s arm or a bicycle wheel.
- Warning signage posted on both sides of the gate, visible at eye level.
- Proper grounding and bonding for the opener motor and control board. North Texas thunderstorms are not gentle on gate electronics, and an improperly grounded opener is a magnet for lightning damage.
When a professional installs or repairs an automated gate, that professional is on the hook for UL 325 compliance. The liability transfers. And if you ever have an incident, the documentation of who did the work matters. We service openers from LiftMaster, FAAC, BFT, and Linear, and the first thing we check on every automated gate service call is the safety system. Not because we’re trying to sell safety devices. Because a gate opener’s job is to move a heavy gate reliably for years, and it can only do that safely if the entrapment protection is doing its job.
How to Diagnose a Gate Problem Before Calling Anyone
When you call a gate repair company, the person on the phone is going to ask you questions. The quality of your answers determines how quickly the problem gets solved, how accurate the quote is, and whether the first visit is the last visit. Here’s a systematic way to gather useful information, even if you don’t know a capacitor from a limit switch.
Step 1: Describe exactly what the gate does, not what you think is wrong
Don’t say “the motor is shot.” Say, “When I press the button, I hear a click and nothing moves,” or “The gate opens about two feet and then reverses.” Those are completely different problems. The click-and-nothing is often a capacitor. The open-two-feet-and-reverse is often a force-sensitivity issue or a binding track. An honest technician can hear the difference over the phone.
Step 2: Test the gate from every input
Try the remote, the keypad, the wall button, and the manual release. If the gate works from one input and not another, the problem is in the input device, not the opener. If it doesn’t work from any input, the problem is in the opener or the power supply. This single test eliminates half the possibilities before anyone drives out.
Step 3: Check the obvious things first
Is the opener plugged in? Is the breaker tripped? Is the gate in “vacation mode” or “lockout” because a kid held the remote button too long? Has the safety sensor been bumped out of alignment? These are the fixes that don’t require a service call, and any honest gate company will walk you through them over the phone. We do this every day. Sometimes the call is three minutes long, and the gate works again. We’re fine with that.
Step 4: Note when the problem started
Did it start after a storm? After a lawn crew came through? After a power outage? After a freeze? Prosper’s weather patterns are relevant here. A gate that works fine all summer and then slips in spring is often a soil-moisture issue, not a hardware failure. A gate that dies after a thunderstorm often has a fried control board from a power surge.
Step 5: Take photos and note the brand
The brand name is on the opener cover. LiftMaster, FAAC, BFT, Linear, Viking, Ghost Controls, DoorKing, Elite, Mighty Mule, it’s printed right there. Knowing the brand and model before you call saves a trip if the part is specialized. Also photograph the gate from both sides, the hinge post, and the opener. A picture of a leaning post is more useful than a description.
Step 6: Don’t disassemble anything you can’t reassemble
If you’re not sure whether the gate can be lifted off its hinges safely, don’t try. If you’ve already opened the opener cover and there are wires everywhere, close it and step back. The diagnosis should not create new problems.
When you call a professional with this information, you’ll get a more accurate estimate, a faster repair, and a clear sense of whether the person on the phone knows what they’re talking about. If they don’t ask any questions and just give you a price, be suspicious. That’s the hall of mirrors approach, a low phone quote that becomes a high on-site bill. The same approach that burned you before. It’s why we do Gatewood Fence & Gate home style pricing: phone quote, on-site verification, written price before any work starts.
Questions to Ask a Gate Contractor (And What Honest Answers Sound Like)
If you’re not sure whether a job is DIY-appropriate or professional territory, the best diagnostic tool isn’t a socket set. It’s a phone call to a contractor who will answer your questions honestly. The way a company answers these five questions will tell you more than their rating on any review site.
1. “Can you tell me what’s wrong before you come out?”
An honest answer: “Based on what you’re describing, it sounds like A or B. I’ll know for sure when I see it, and I’ll confirm the price before I touch anything.” A dishonest answer: “We’ll need to send a technician out, and there’s a diagnostic fee.” A flat fee is not automatically dishonest, but a company that refuses to speculate at all is shielding itself from having to stand behind a price. The person who answers the phone at Gatewood Fence & Gate is a human being who has worked on gates. When you call, you get information, not a runaround.
2. “Do you repair or do you replace?”
This is the single most important question in gate repair, and the answer separates the repairmen from the salesmen. Some companies only make money on replacements, so they’ll tell you that a cracked weld means the whole gate is shot. That’s not true. A broken picket is a $50 weld on site. A bent track is often a straighten-and-re-align job. A repair-first shop will tell you what can be saved and what cannot, and they’ll show you the difference. Hal’s whole approach is that the gate stays in your driveway and gets fixed where it hangs. If a company starts talking about hauling the gate to their shop before they’ve even seen it, hang up.
3. “Can you weld it here, or do you have to take it away?”
On-site welding is faster, cheaper, and more honest. The gate doesn’t have to be unloaded, transported, and reloaded. The repair is done where the gate lives, with the hinges and posts exactly where they’ll be in daily use. If the company doesn’t offer on-site welding, they’re either not equipped or they’re going to upsell you on a new gate. Gate Repair in Prosper is structured around the idea that the repair happens at your property, not at some distant shop.
4. “What’s your guarantee?”
An honest guarantee has a time frame and a plainly stated condition. “If it’s not done right, we make it right.” That’s the 90-Day Done Right Promise at Gatewood Fence & Gate home. It’s stamped on every job, in writing. A company that hedges, that says “we stand behind our work” without saying for how long, or that buries an exclusion in fine print, is telling you something about how they expect their work to hold up. In our experience, the guarantee is the difference between a company that plans to be around next year and a company that plans to be paid this week.
5. “Does the person who’s coming have a background check and a uniform?”
This sounds fussy, but it’s not. You’re letting a stranger onto your property, often at night, often when you’re not home. A company that sends background-checked, uniformed technicians is telling you they take your security as seriously as your gate. The person who shows up should be able to tell you the same things the phone person did. If there’s a disconnect, send them away. You don’t owe anyone entry to your property based on a phone conversation.
What DIY Gate Repair Actually Costs in Prosper
The math on DIY versus professional gate repair is not as simple as “DIY is free and professional costs money.” DIY costs time, materials, and the cost of being wrong. For a detailed look at pricing, see our Gate Repair Cost Breakdown: The Prosper Homeowner’s Reference for 2026. Here’s the honest breakdown for common Prosper gate repairs.
| Repair | Typical DIY Cost | Typical Professional Cost | Risk of DIY Being Wrong |
|---|---|---|---|
| Remote battery replacement | $5 | $0 (free fix over the phone) | None |
| Keypad battery or cover | $8-$30 | $45-$85 if we come out | Low |
| Lubrication and hinge tightening | $15 (grease and wrench) | $75-$150 if you don’t want to touch it | Low |
| Photo-eye realignment | $0 (if you can confirm alignment) | $60-$120 | Low to medium |
| Strike plate replacement | $10-$25 | $60-$100 | Low |
| Hinge post re-set | $40 in concrete (plus your time, plus the risk of doing it wrong) | $450-$900 | High. If it’s wrong, you pay twice |
| On-site weld repair | Not DIY. Welding is a skill | $150-$450 | N/A |
| Opener control board replacement | Not DIY. 120V and 24V wiring | $300-$700 | N/A |
| Full automated opener replacement | Not DIY. UL 325 requirements apply | $1,200-$3,500 | N/A |
Here’s the number most homeowners miss. If you attempt a hinge post repair, get the concrete mix wrong, don’t let it cure, or set the post slightly out of plumb, you’ll pay $40 for materials and then $700 for a professional to undo your work and do it right. The DIY attempt didn’t save $700. It cost an extra $40 and two weekends. And in the meantime, the gate has been stressing the hinges and the panel every day, which means additional wear. The cheapest repair is the one done once, correctly.
If you’re weighing a gate opener replacement, consider the Gate Motor & Opener in Prosper page for a detailed breakdown of what a full opener service includes and what it should cost. And if you’re thinking about replacing the entire gate, read Gate Installation in Prosper before you commit to a direction. Knowing what a new gate actually costs will tell you whether repair is the smarter call, and it usually is.
Common Mistakes to Avoid
- Fixing the symptom and not the cause. A homeowner in Prosper replaced his bent gate wheel three times before he called us. The wheel wasn’t the problem. The track had shifted out of level because the concrete pad had cracked. Each new wheel rolled over the same uneven spot and bent again in weeks. The third wheel was wasted money.
- Using the wrong lubricant on hinges and rollers. WD-40 is a solvent, not a long-term lubricant. In Prosper’s clay-dust environment, it turns into a grinding paste. Use white lithium grease or a dry silicone spray. This alone prevents a huge number of squeaks, binds, and premature hinge wear.
- Lifting a gate off its hinges alone. Even a light gate is awkward, and an automated gate is heavier than it looks. If you slip, the gate drops on you or on the opener arm. Get a second person, and block the gate before you unbolt anything.
- Ignoring a sag for months. A gate that sags one inch is putting constant stress on the hinge post. Six months later, the post has moved, the gate has cracked at the weld, and a $75 hinge adjustment has become a $700 post re-set. The repair clock starts the day the sag appears.
- Not documenting the gate’s “normal” behavior. When the gate works right, you don’t think about it. When it breaks, you have no baseline for comparison. Knowing whether the gate always buzzed slightly, always slowed near the end of the cycle, or always had a small hesitation tells the repair person what’s new and what’s old. Write it down when it changes.
- Buying aftermarket opener parts that don’t match the brand. A generic capacitor or a universal control board may work for a while, but the opener’s safety logic is calibrated to specific components. A mismatch can cause the opener to ignore force limits or cycle erratically. When it comes to opener internals, brand-specific parts from LiftMaster, FAAC, BFT, or Linear are worth the extra cost.
- Not asking for the guarantee in writing. A verbal “we’ll take care of it” is worth the paper it’s printed on. The 90-Day Done Right Promise is in writing because that’s the only version of a guarantee that means anything. If a contractor won’t put their guarantee on paper, ask yourself why.
When to Call a Professional
If the gate has sagged, if a post is leaning, if a weld has cracked, if the opener is failing from multiple inputs, if the gate has ever closed on a car or a person, if the safety sensors are malfunctioning, or if the gate simply doesn’t feel right and you can’t explain why, that’s a professional call. Not a YouTube video, not a neighbor’s guess, not a forum post. A gate under tension, a gate carrying weight, or a gate connected to a motor is a machine that deserves a professional’s attention. Hal will tell you the same thing, and he’ll tell you for free over the phone. Gatewood Fence & Gate offers free estimates in Prosper, call (979) 291-0947 and describe what you’re seeing. We’ll help you decide if it’s a DIY fix or a service call, honestly, before anyone gets in a truck.
Frequently Asked Questions
Remote and keypad battery replacement, hinge lubrication, tightening loose hardware, photo-eye realignment, and strike plate adjustment are all DIY-safe for a Prosper homeowner with basic hand tools, as covered in our Gate Repair Maintenance Checklist for Prosper Homeowners. These repairs require no specialty equipment, no contact with electricity, and no lifting of the gate itself. Anything involving a post, a weld, a spring, or opener wiring should be left to a professional.
Simple repairs like photo-eye alignment or latch adjustment typically cost $60 to $150. Structural repairs like a hinge post re-set run $450 to $900 depending on how much concrete has to be removed and re-poured. Opener control board replacement runs $300 to $700, and a full opener replacement ranges from $1,200 to $3,500. Every job gets a written price before work starts, call (979) 291-0947 for a free estimate.
Because the visible symptom is rarely the actual cause. A sagging gate looks like a hinge problem but is usually a failing hinge post. A dead opener looks like a motor problem but is often a bad capacitor or a fried control board from a power surge. When you fix the symptom without addressing the cause, the same problem returns, often worse, and the original repair budget is wasted.
UL 325 is the federal safety standard for automated gate and door operators. It requires entrapment protection devices, proper force settings, and warning signage on every automated gate. If you modify or repair an automated gate without maintaining UL 325 compliance, you may be personally liable if someone is injured, and your homeowner’s insurance may not cover the claim. Professional repair transfers that liability to the contractor.
Yes, and that’s how it should be done. On-site welding keeps the gate in its actual hanging position, which means the welds are made while the gate’s weight and alignment are correctly loaded. Hauling a gate to a shop and welding it on a bench often produces a gate that doesn’t quite hang right when it goes back up. We weld on site in Prosper, in your driveway, where the gate lives.
Yes, we are certified to service nine major gate brands, including LiftMaster, FAAC, BFT, Linear, Viking, Ghost Controls, DoorKing, Elite, and Mighty Mule. If your opener is one of those brands, we have the parts, the diagnostic tools, and the experience to fix it without replacing it unnecessarily.
The Bottom Line
The DIY versus professional gate repair question is not about your capability. It’s about whether the repair you can see is the repair that needs doing. A homeowner who can change a battery can also misdiagnose a failing hinge post. A homeowner who can weld a bracket can also put a cold weld on a load-bearing joint and find out when the gate falls. In Prosper’s clay soil and storm prone climate, gates fail in predictable ways, and the people who fix them wrong pay twice. Fix the small things yourself. That’s honest. Leave the structural work, the welding, the spring tension, and the opener internals to someone whose name is on the job. That’s wisdom. When you’re not sure, call (979) 291-0947 and describe what you see. A live person answers, and the advice is free.
Written by Hal Gatewood, Owner at Gatewood Fence & Gate, serving Prosper since 2001.